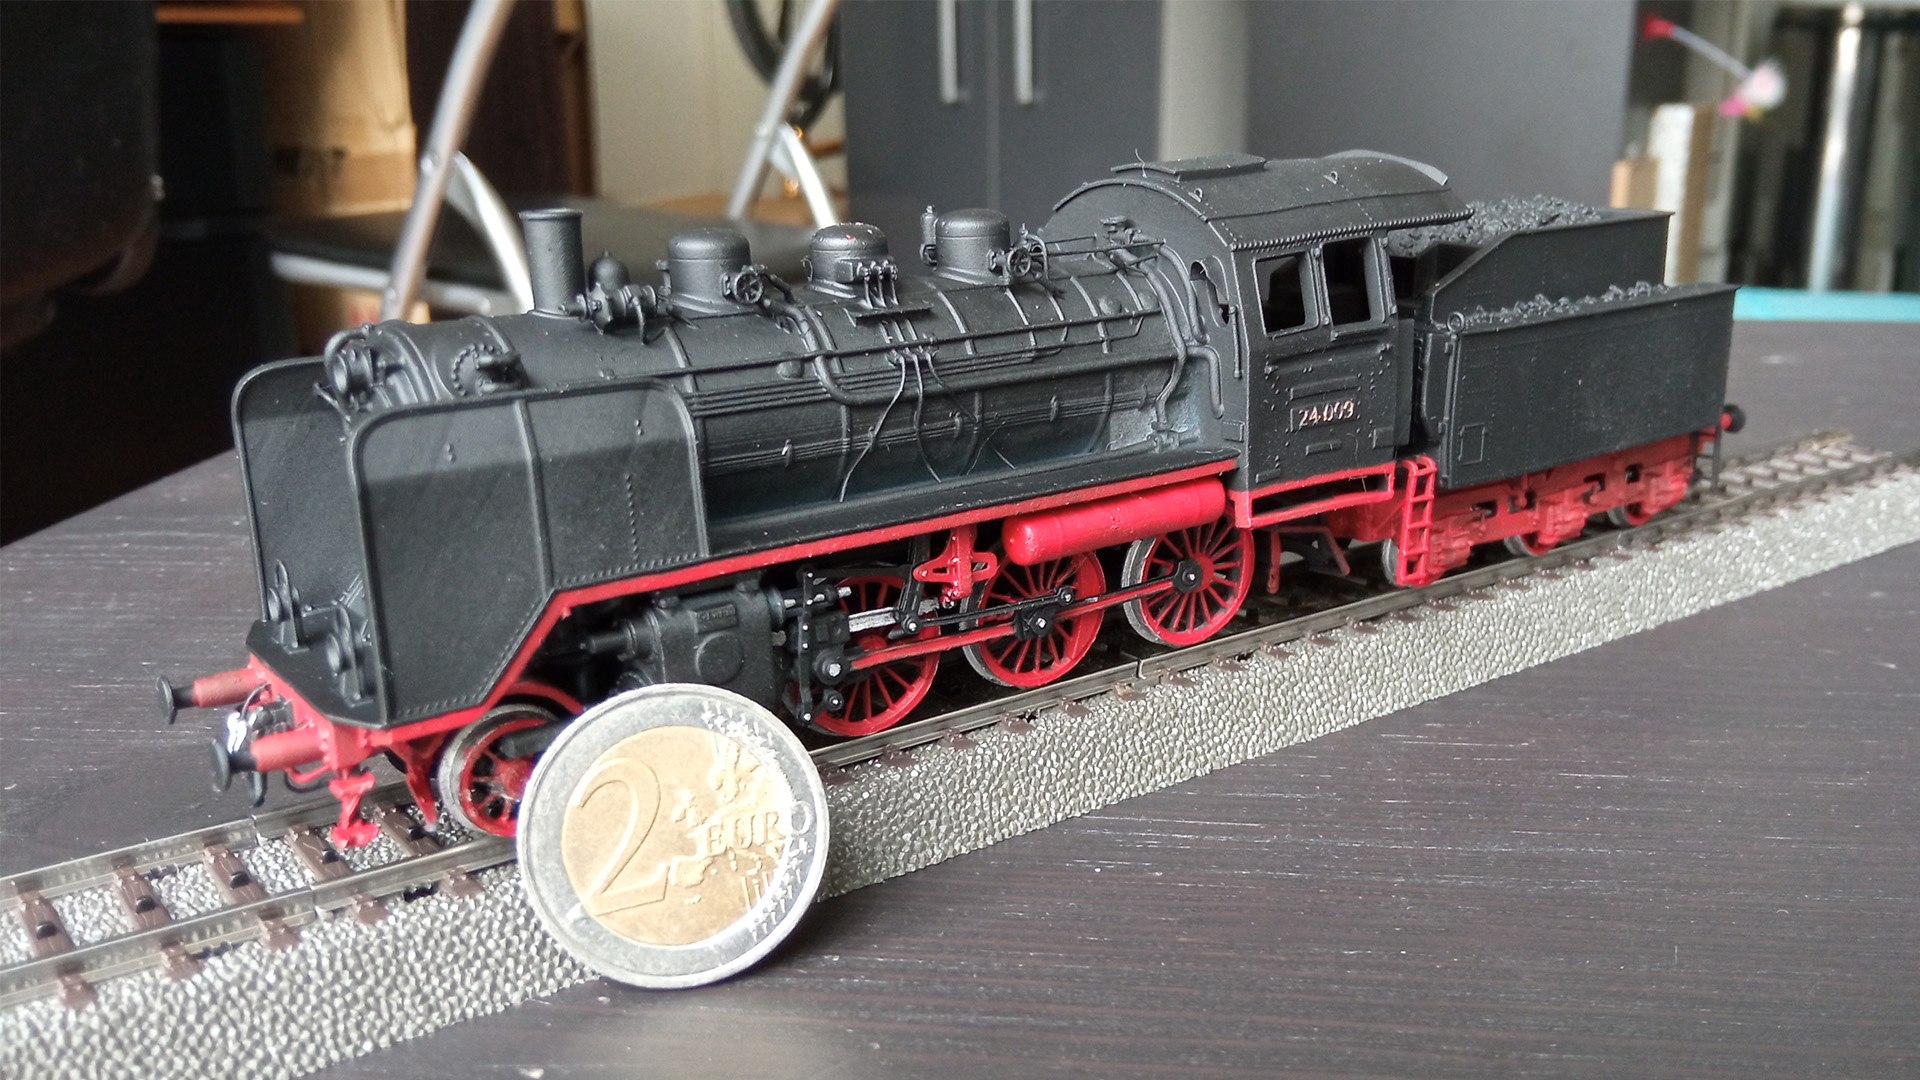
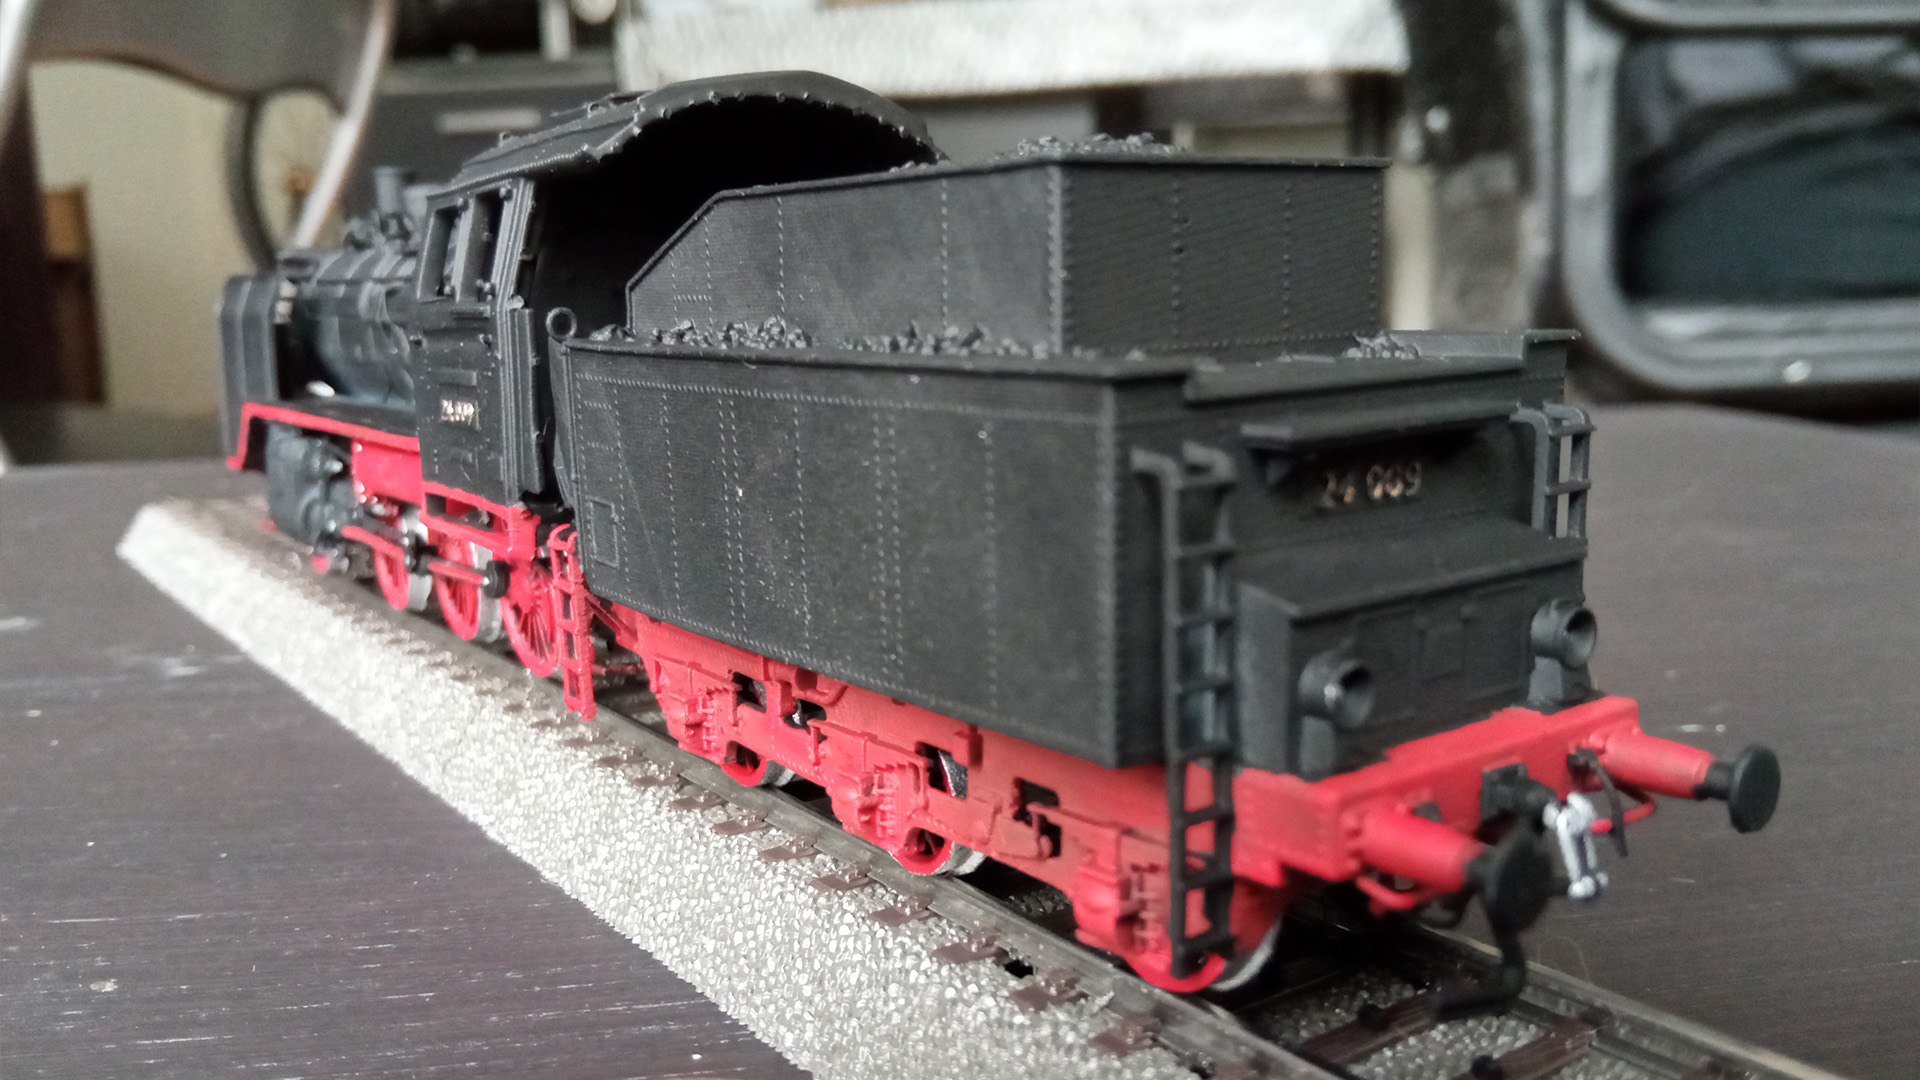
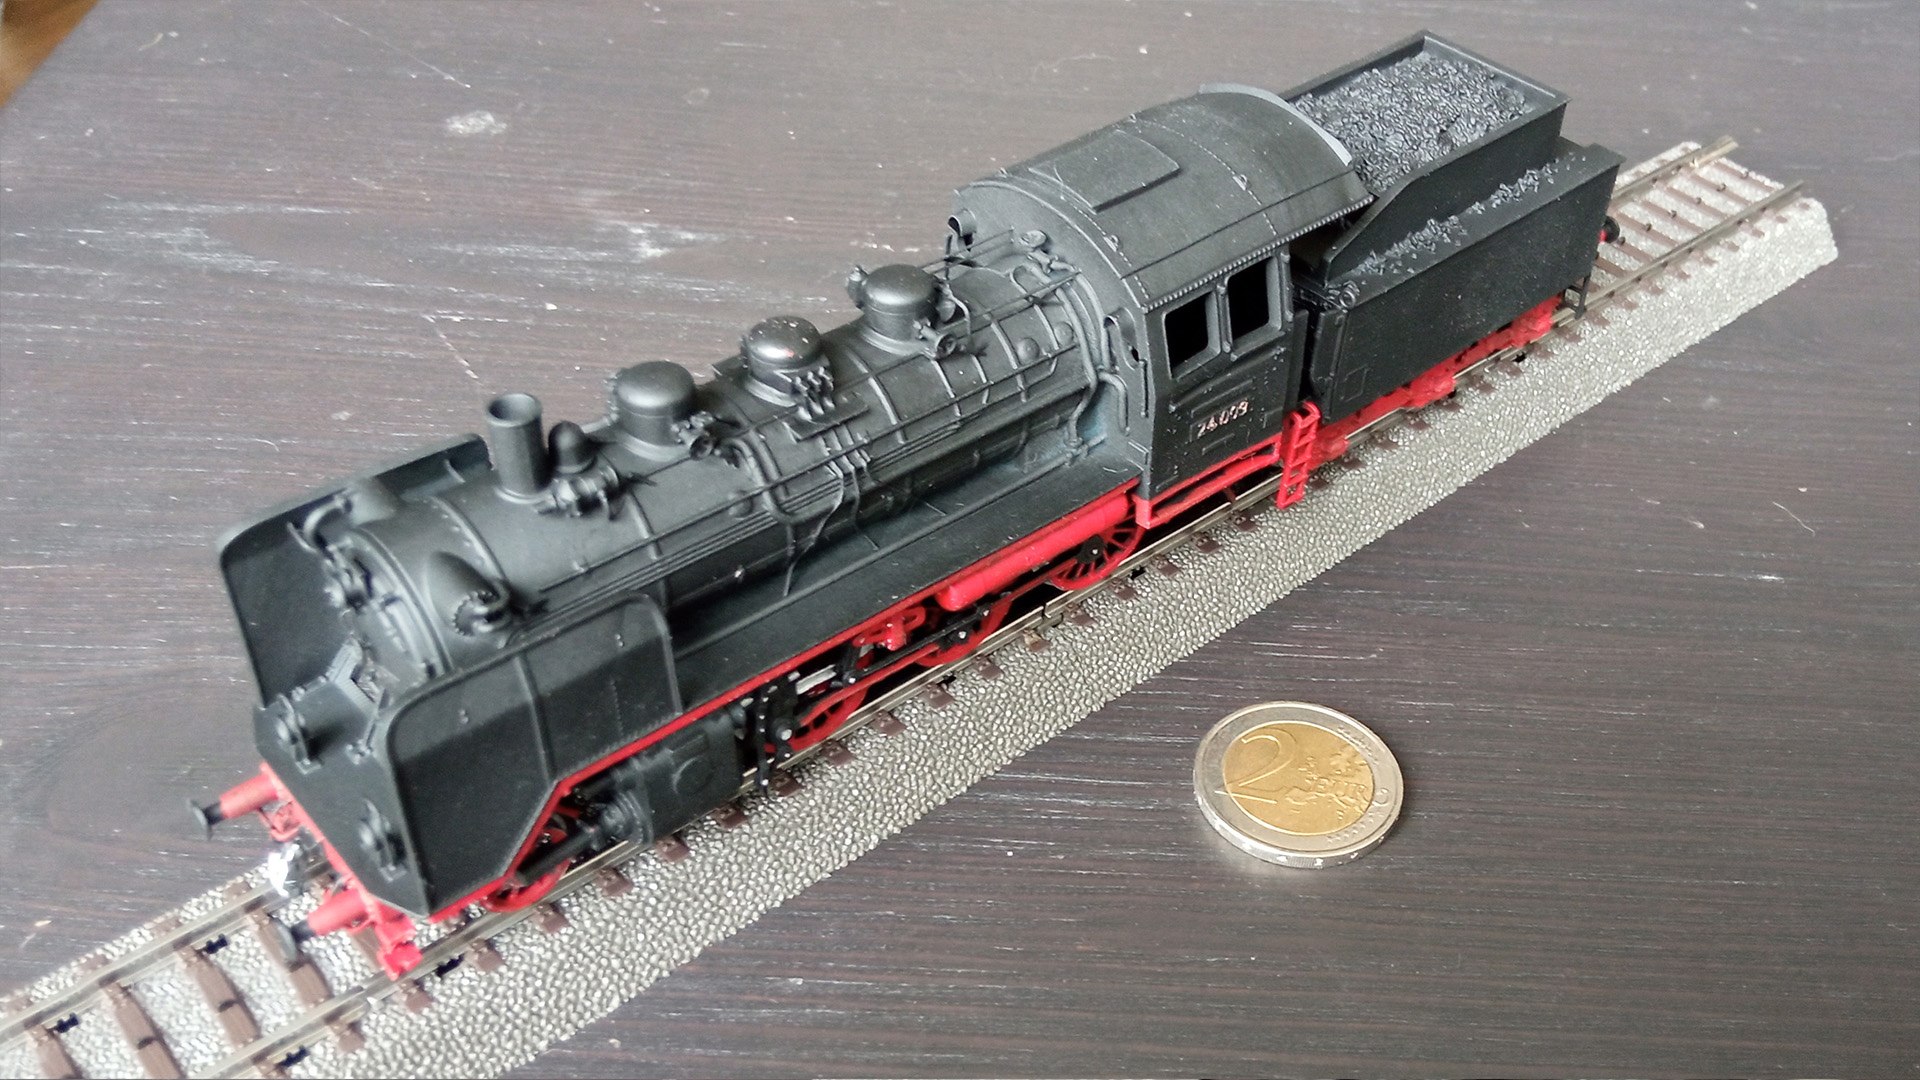
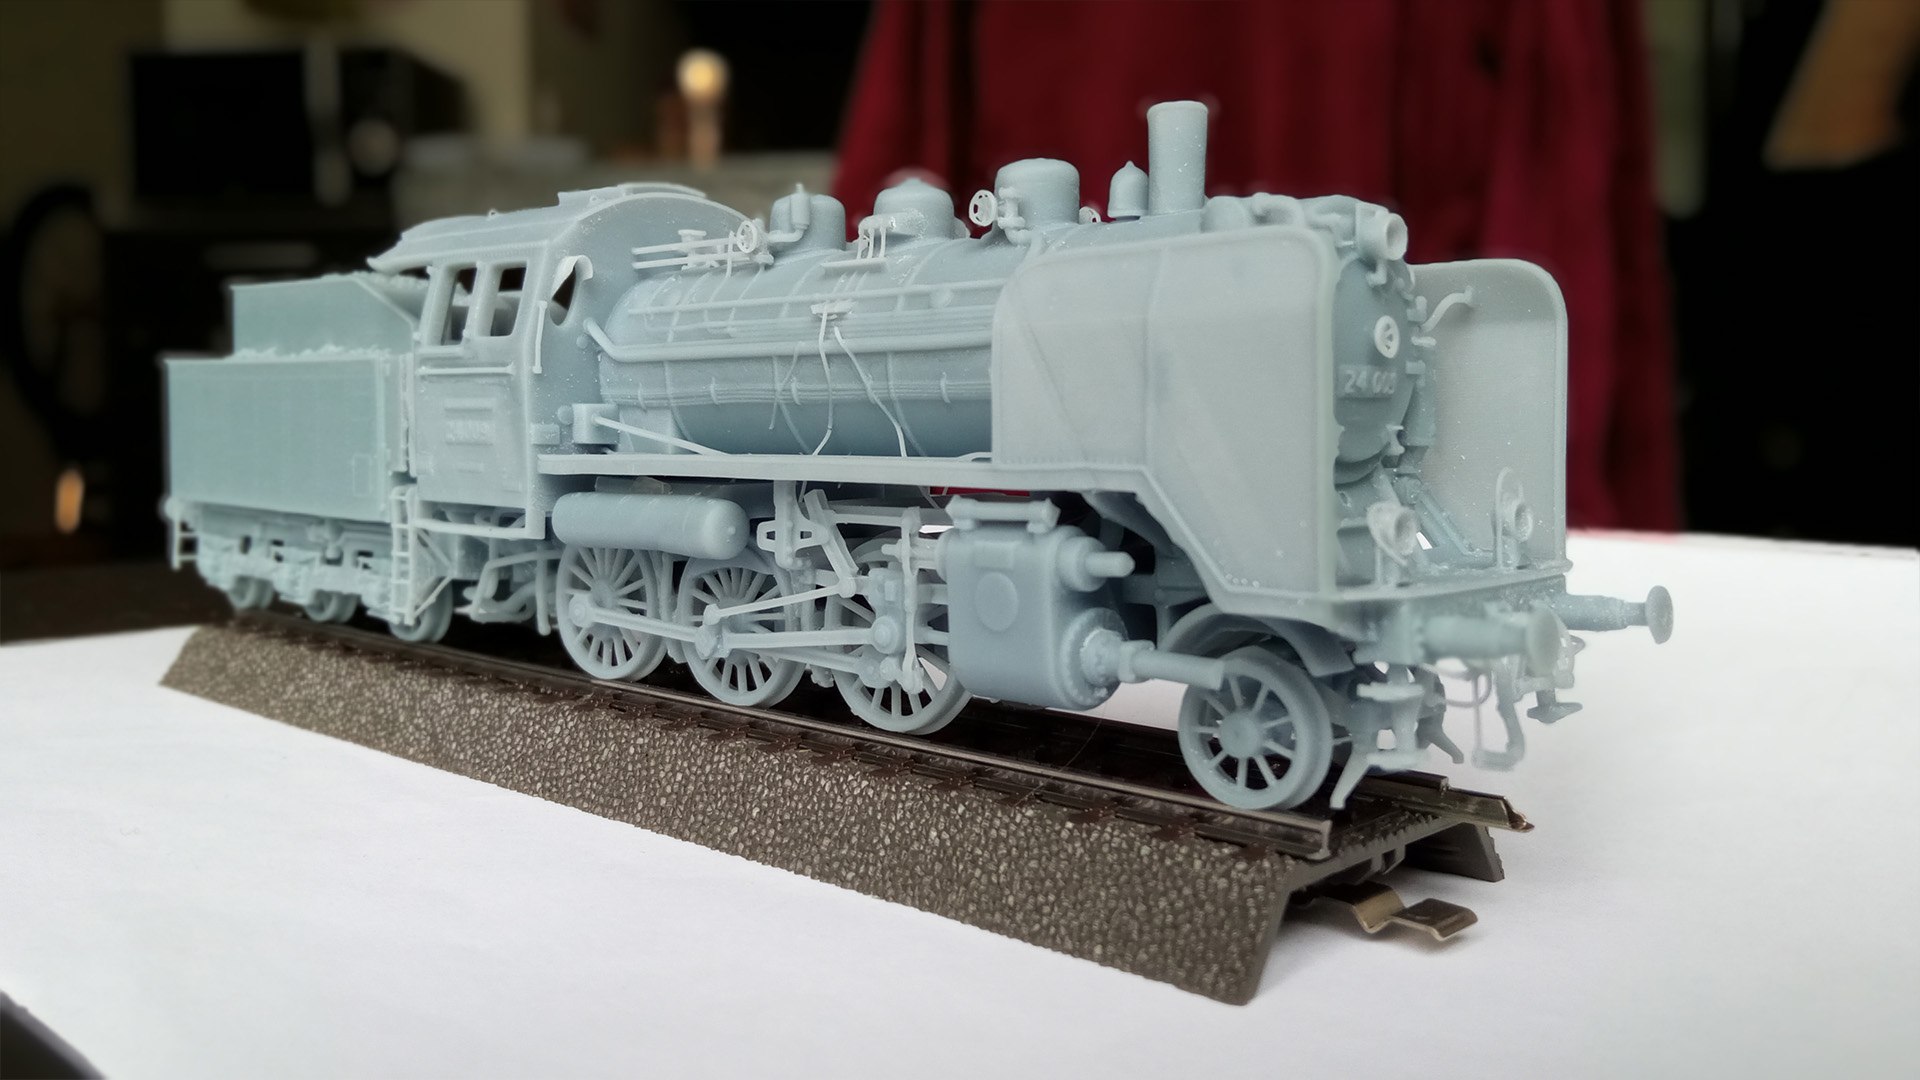
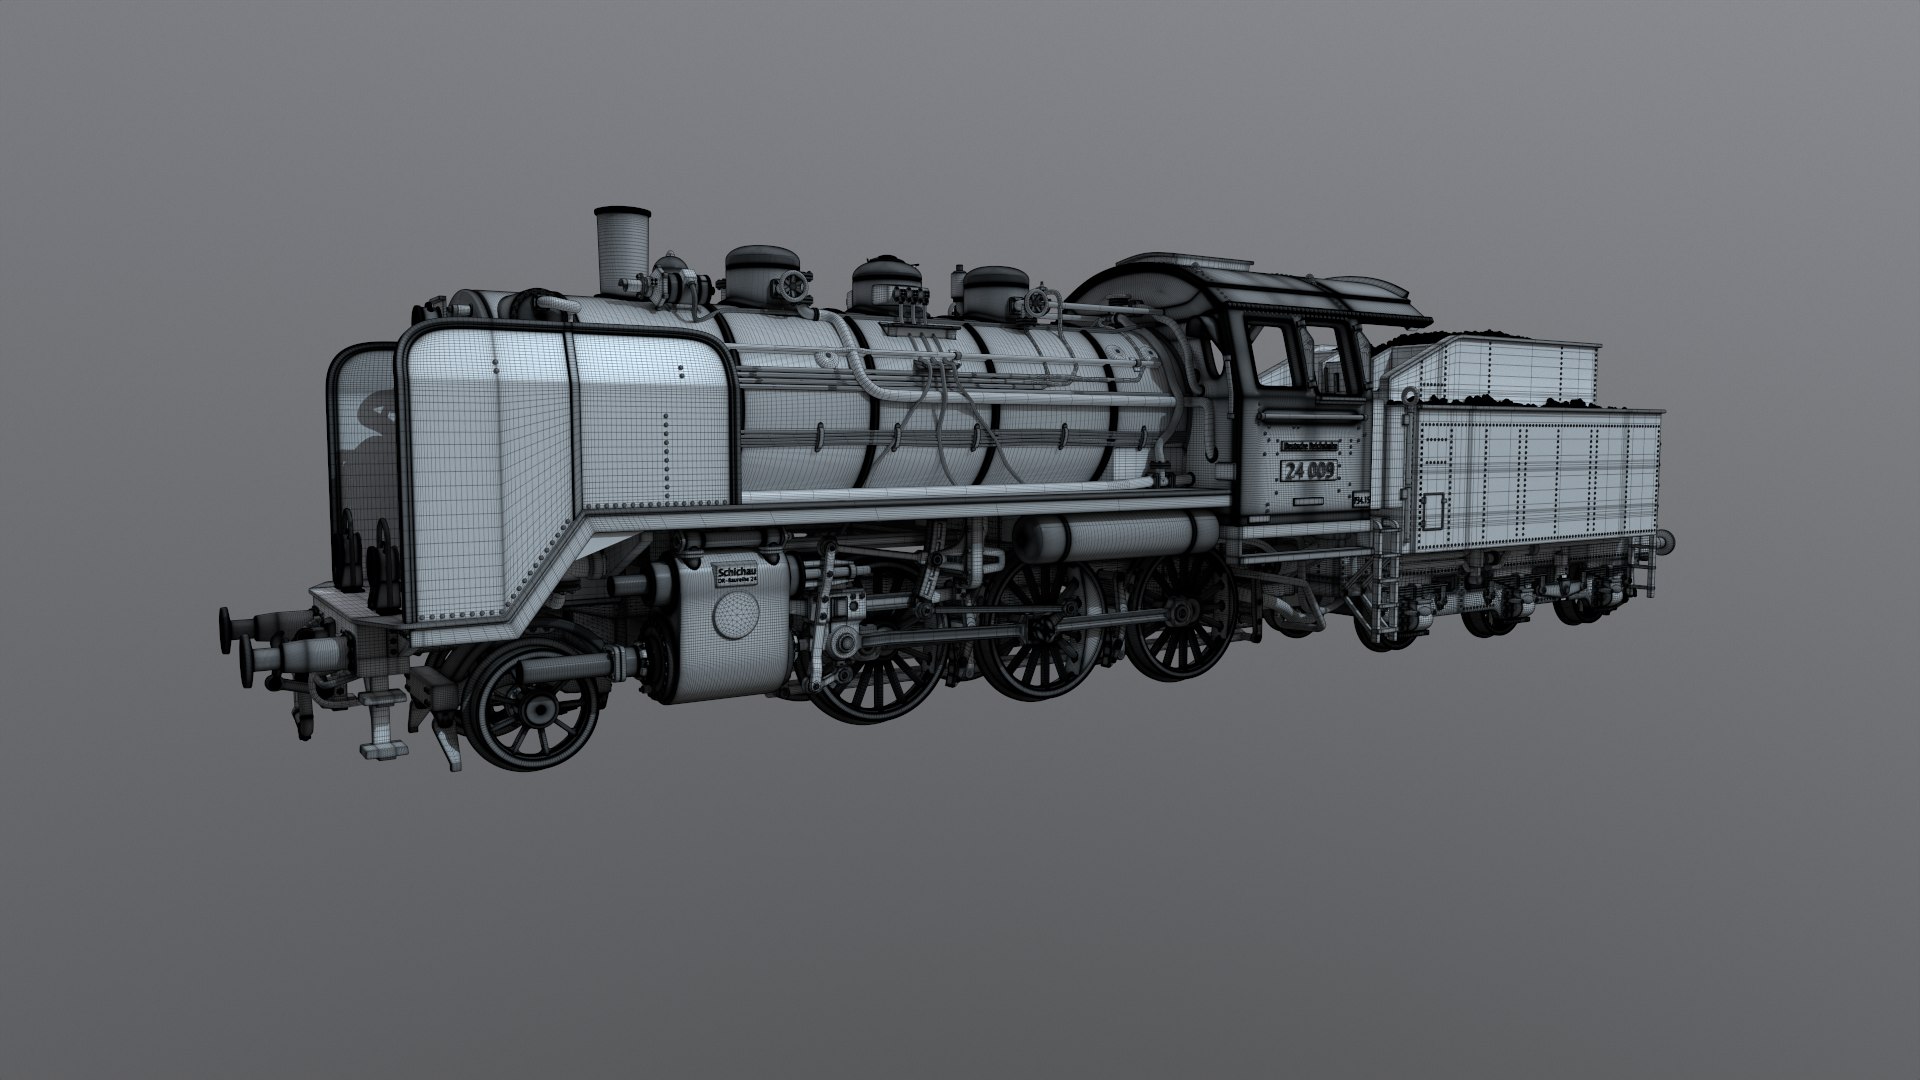
Very faithful scale model of the DR BR 24 initially modeled for the Train simulator game and converted into a printable model !
'Almost every nut and rivet is reproduced as well as every line, brake system and Walschaerts-type connecting rod mechanism. The right and left side connecting rods are in a 90 ° offset pose for faithful reproduction.'
This printed model will look great on your diorama in the yard or in the maintenance workshop.
All impression scales are possible because the locomotive has been modeled on a 1/1 scale.
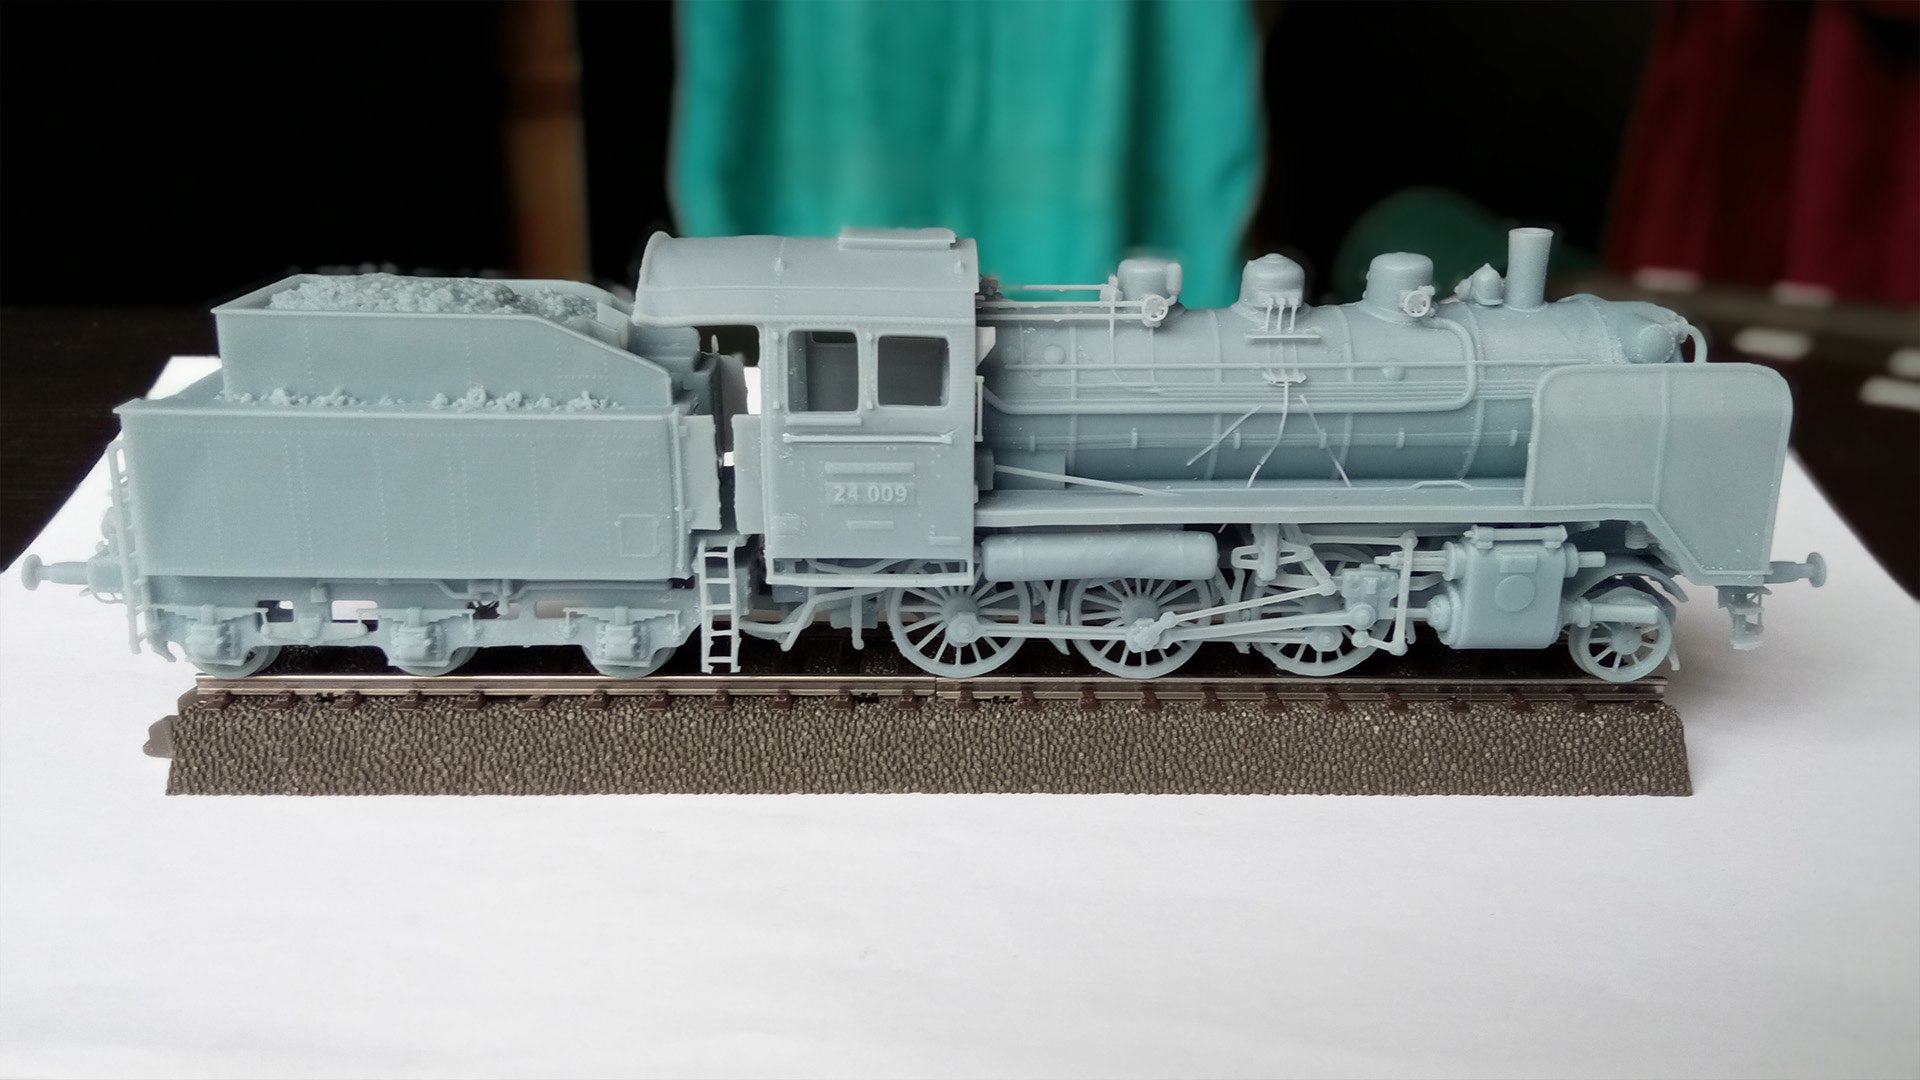
The model shown in the photo is printed at 1/87 in resin and placed on a HO Marklïn track element.
This model is neither articulated nor motorized and is intended for static use.
Note : this asset is not a physical goods, it's a file ready to print
If you need a textured version, I sell the same locomotive with textures for real-time rendering too : please check my other products.
I attached the Chitubox project files which allowed me to get the 1/87th shown model.
3D PRINTING SETTINGS
Modeled at 1/1 scale so you can print the scale you want. (ex 1 / 87th> x 0.01149)
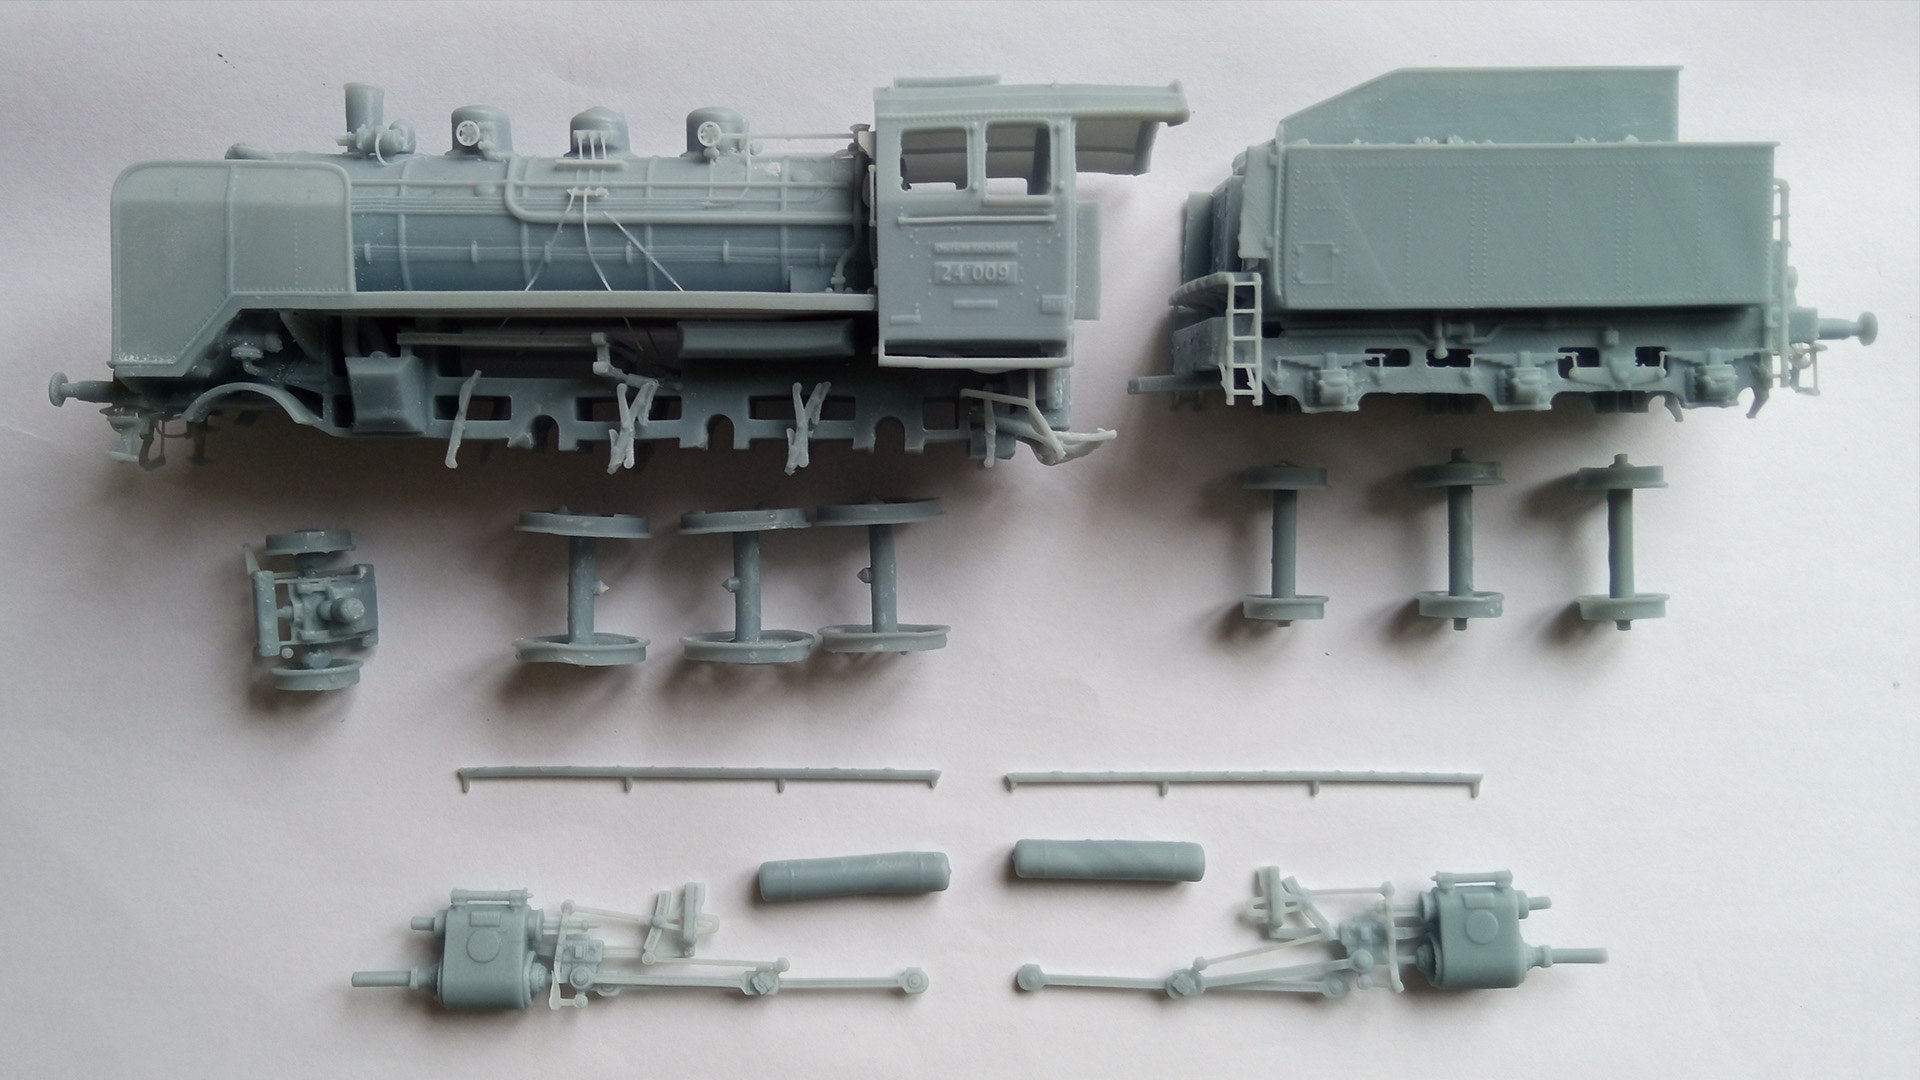
BE CAREFUL to print all the parts on the same scale to allow nesting
The photos show the model printed on an 'Elegoo Mars 1' in standard gray resin at 1/87 scale
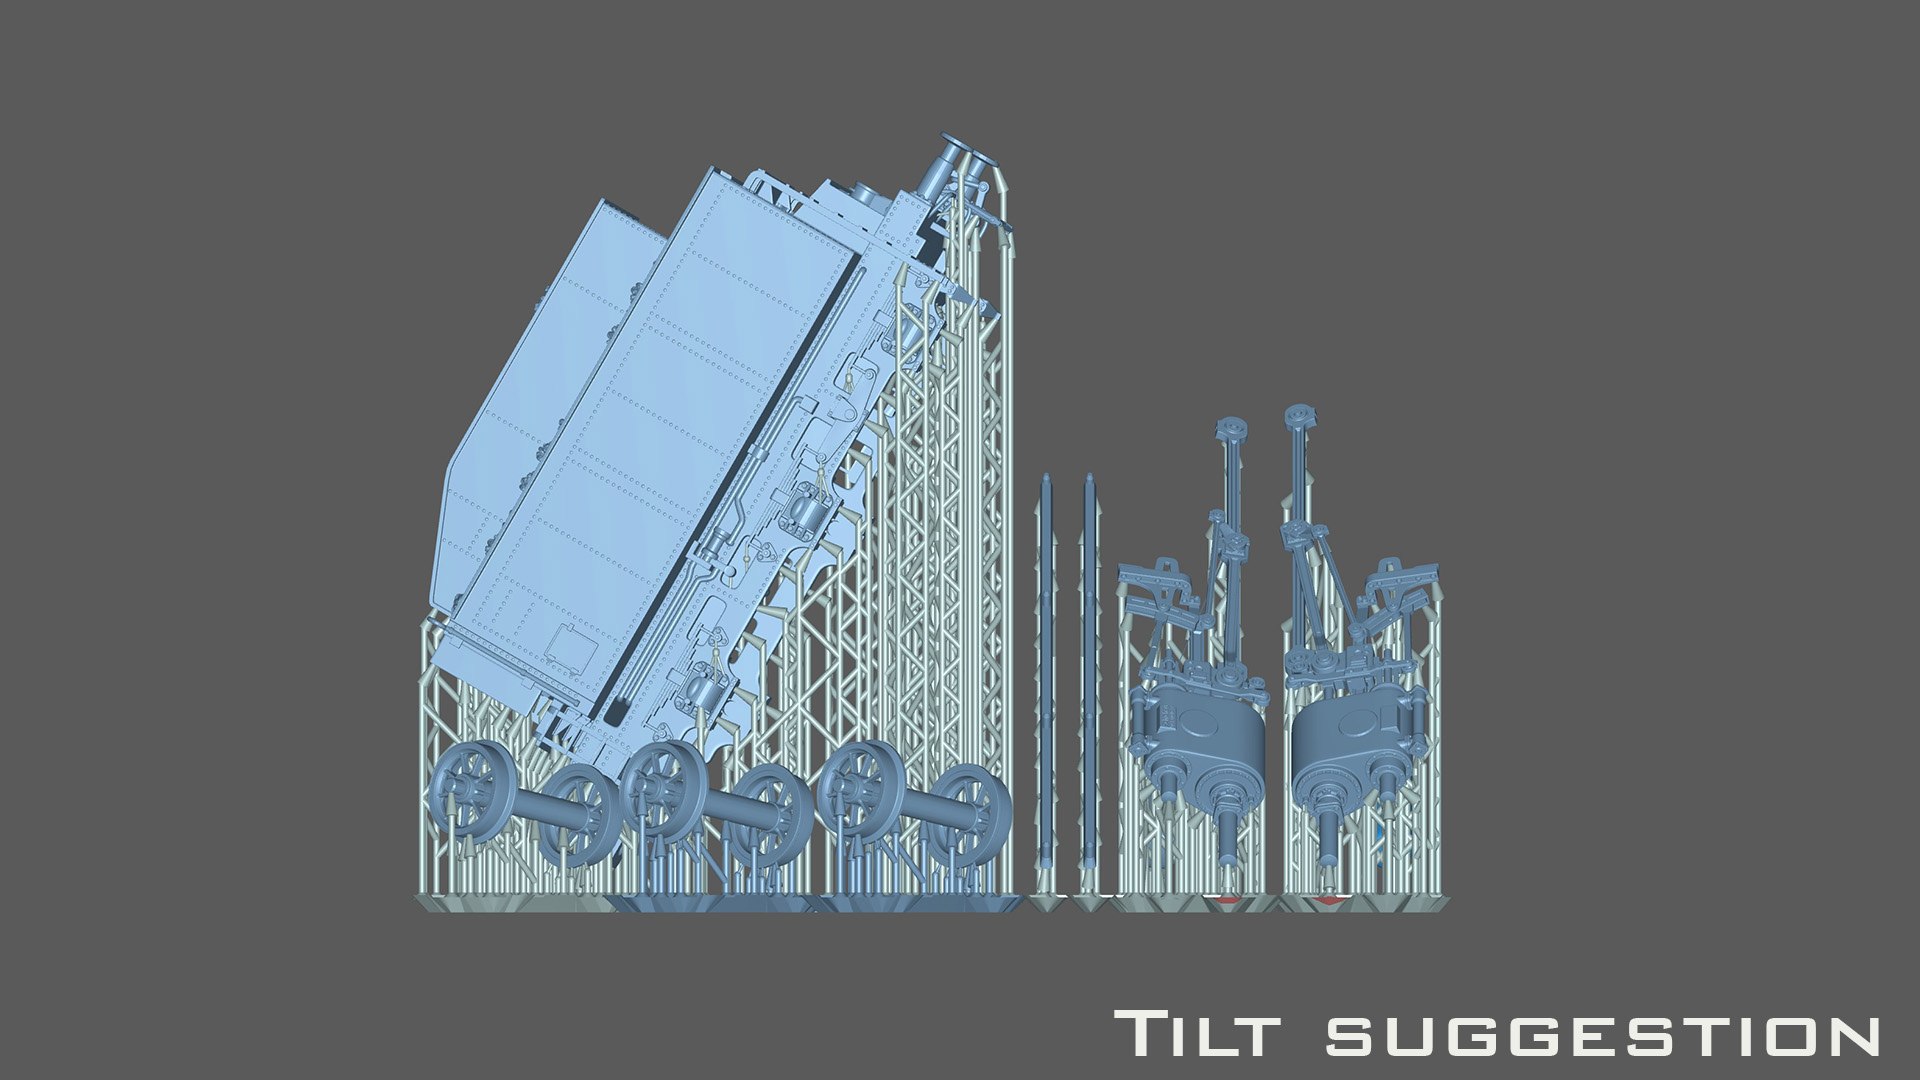
The tender axle part must be printed in triplicate
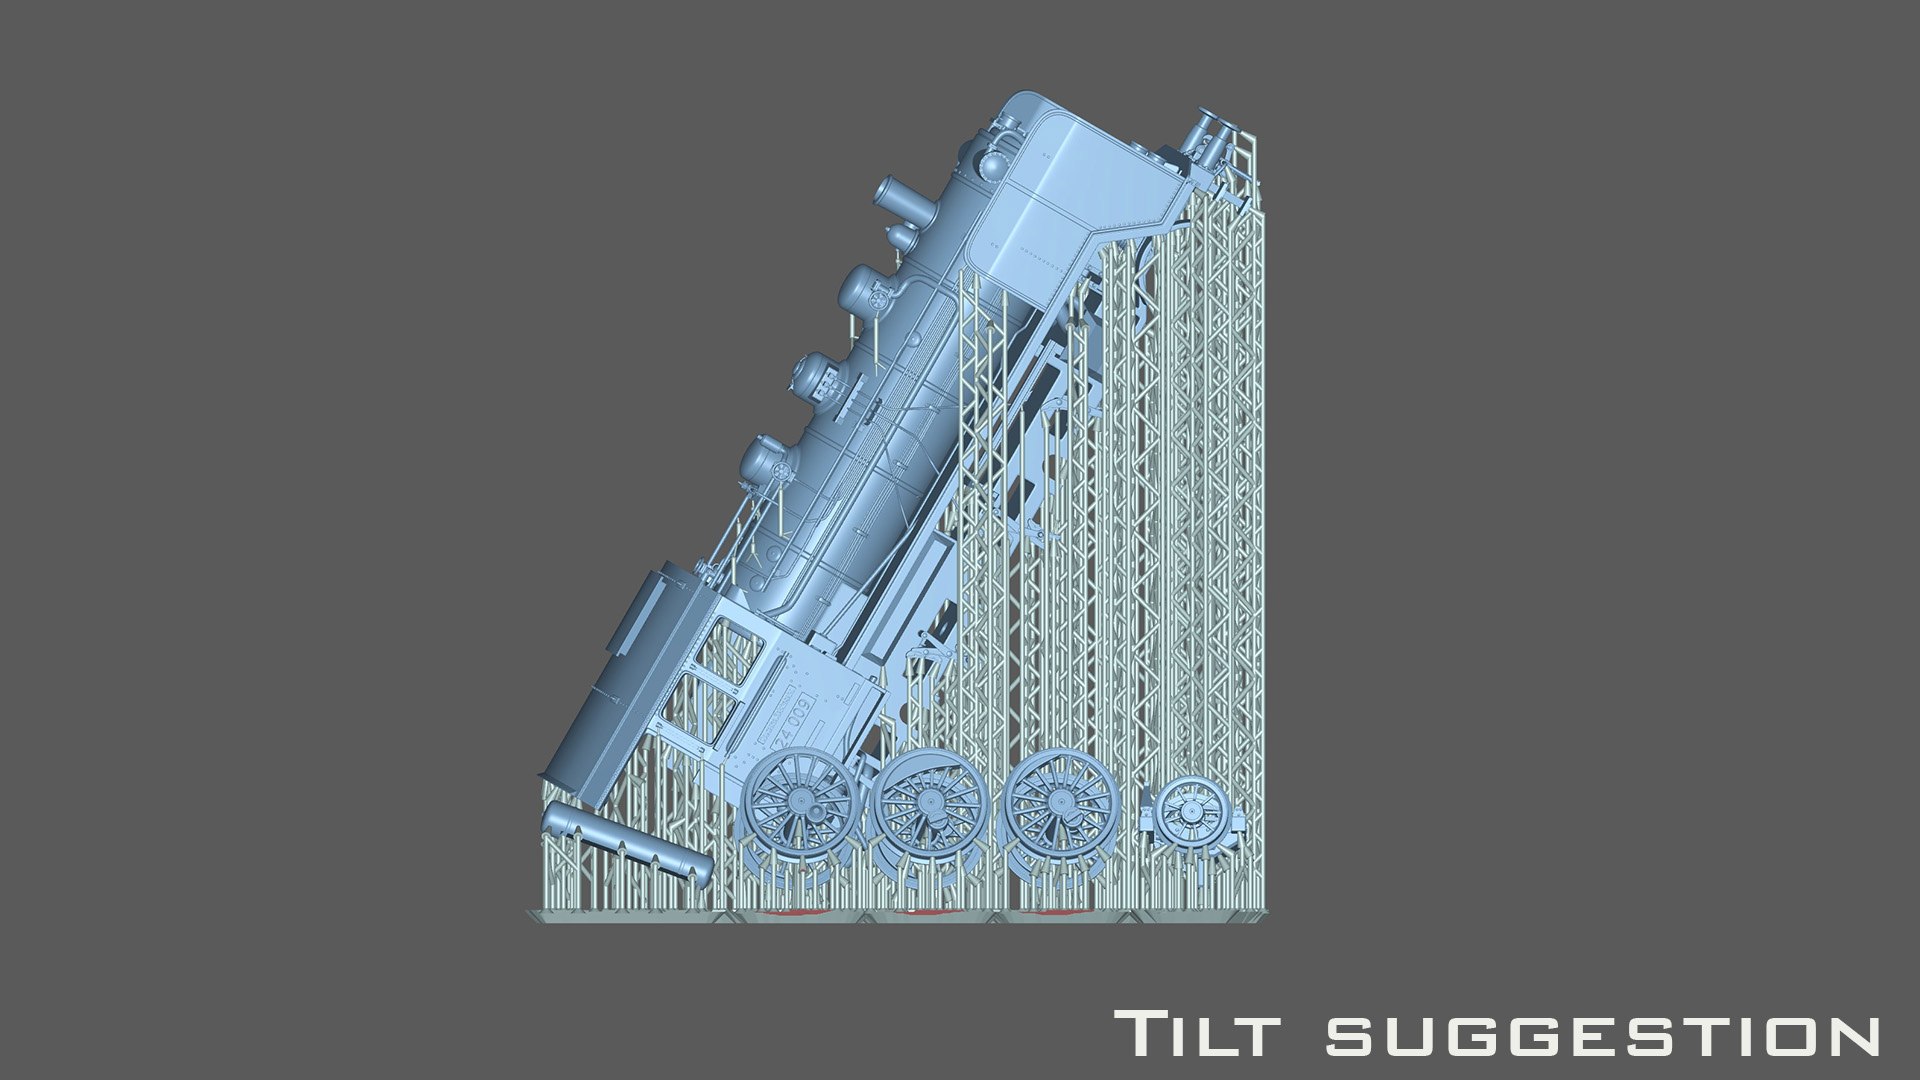
Guidance advice (see screenshots): 10 ° roll and 60 ° pitch
The model is already hollowed out and has holes to evacuate the resin under the frame
A slight grinding of the tenons is necessary for the interlocking (mainly length of the axes of the axles of the tender)
The coupling of the tender is difficult to fit into the loco because of the pipes attached to the loco and which go to the tender, I had to cut these pipes a little to allow a fitting.
BE CAREFUL to find the correct placement configuration of the driving axles BEFORE GLUING to match the position of the crankshaft (wheel counterweight to be placed towards the rear on the left of the loco, and counterweight at the top on the right of the loco )
I recommend painting all the parts before gluing
Very thin parts such as sand tubes and arches around lanterns did not print in 100% of my 1/87 th tests (see photos)